
Add Animator Component
First, add your character to the scene and add the Animator component. Make sure to assign the Animator Controller as well: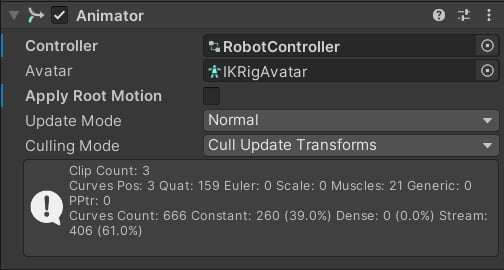
Example Animator from the demo project.
Create Rig Asset
Open up your character hierarchy and find the root bone (it can also be called “Armature”, “Hips”, etc.):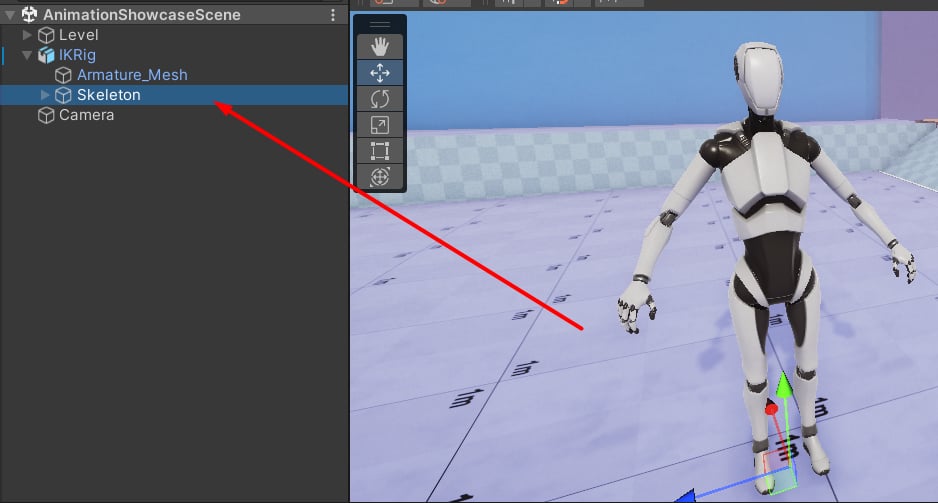
Select the root bone.
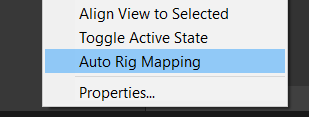
Click that button.
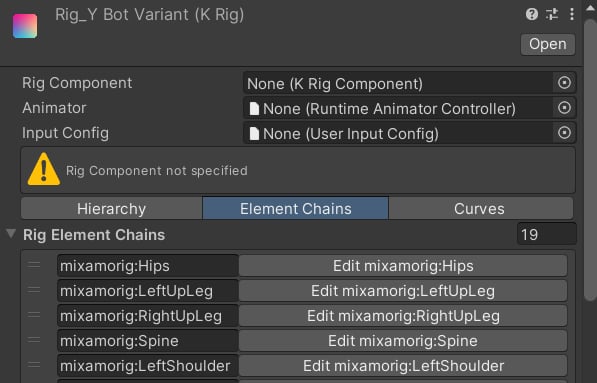
Rig Asset contains information about your character skeleton.
Create Magic Blend Asset
Right-click on your Rig Asset and select Create Magic Blend: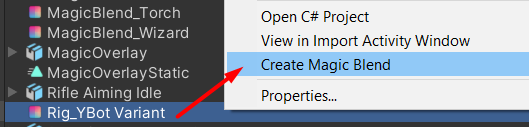
Hit that button.
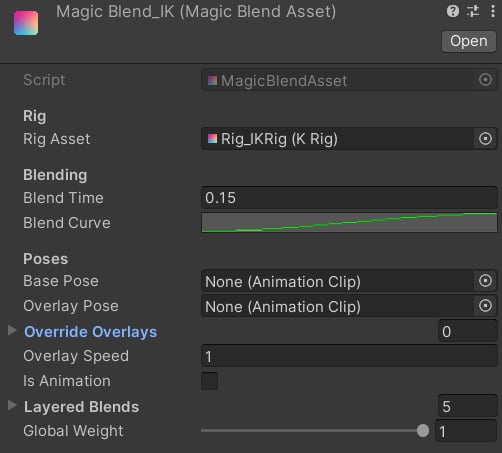
Magic Blend Asset.
- Rig Asset - target skeleton asset, keep it as is.
- Blend Time - blend in time in seconds.
- Blend Curve - blend in curve. It will be used to blend in the Magic Blend Asset when it becomes active.
- Base Pose - the idle stance pose. It will be “subtracted” from the Animator output to generate additive animation.
- Overlay Pose - custom weapon or item pose. It will be animated in runtime.
- Override Overlays - use these overrides to add custom animations to your overlay pose.
- Overlay Speed - play rate of the overlay animation.
- Is Animation - set this to true to play the clip as an animation.
-
Layered Blends - settings for each bone chain with weights. Use it to adjust the blending. By default, the plugin will generate these bone chains:
- Lower Body
- Spine
- Head
- Arms
- Fingers
- Global Weight - controls the global influence of the blending: 0 is disabled and 1 is fully active.
Assign Poses
Pick the idle and overlay poses you like and assign them in the Magic Blend Asset:
Example poses.
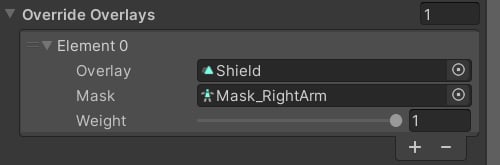
Assign the pose, mask and weight.

Settings for animations.
Adjust Layered Blending
Open up the Layered Blends list and adjust the bone chains: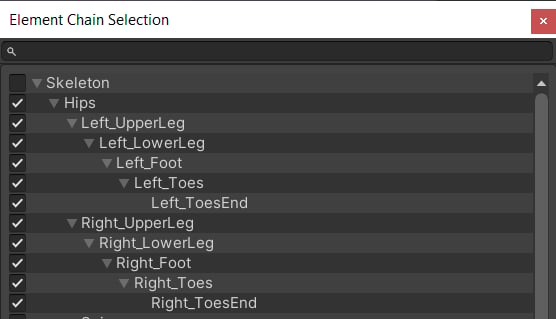
Example lower body chain.
Add Magic Blending
Navigate to your character prefab and add a Magic Blending component. Ensure you add it to the same Game Object that the Animator is attached to: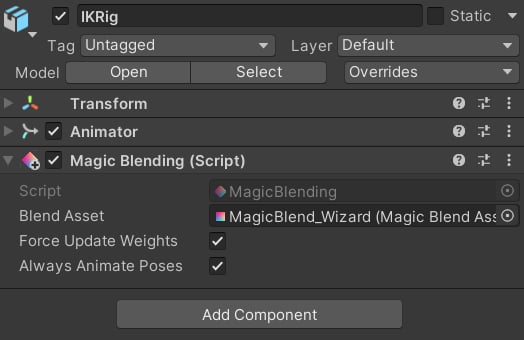
Component is ready!