Overview
Before we start, make sure to import Retarget Pro to your project:Tip: If the asset doesn’t show up in Package Manager, go to the Unity Asset Store and add Retarget Pro to your library (for free).
Rig Assets
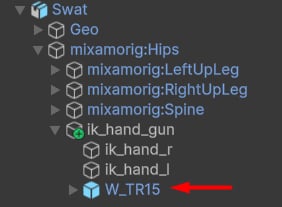
Add your character and Operator models to the scene. We will use the Mixamo Swat model as an example in this tutorial. Next, select the Operator model and find the “root” bone: Right-click on it, choose “Auto Rig Mapping” and click “Create Rig Mapping”. This action will create a Scriptable Object (data asset) in the current folder:Tip: Rig Assets contain skeleton bones used in a character model.
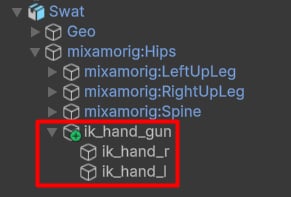
- ik_hand_gun — This bone contains weapon movement.
- ik_hand_r — This is an IK target for the right hand.
- ik_hand_l — This is an IK target for the left hand.
Retarget Profile
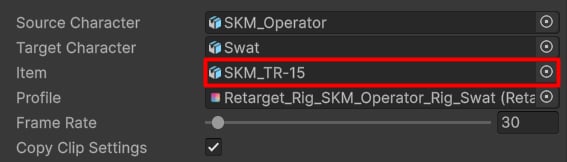
Select the Operator and your character Rig Assets one by one, then right-click and select “Create Retarget Profile”: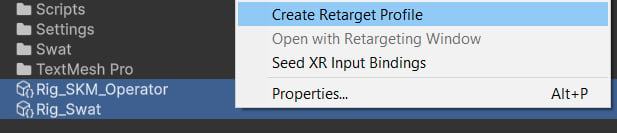
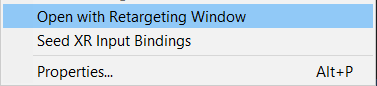
Pelvis
Add a BasicRetargetFeature and select pelvis/hip bones in the source and target chains. Set the translation weight to 1.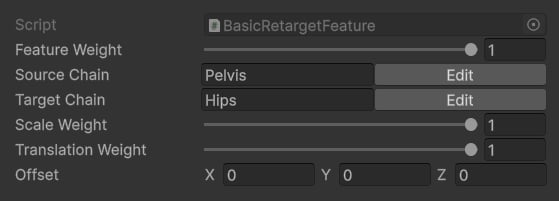
Legs
Add 2 IKRetargetFeatures and select the left and right leg bones (e.g., upper leg, lower leg, foot).Spine
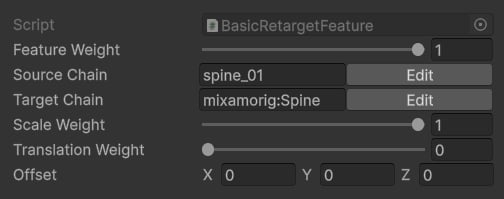
Add a BasicRetargetFeature and select spine bones (including the neck and the head).Tip: It’s important to match the numbers of bones in Source and Target chains.
FPS Retargeter
Add a FPSRetargetFeature and select arm and weapon bones in the inspector.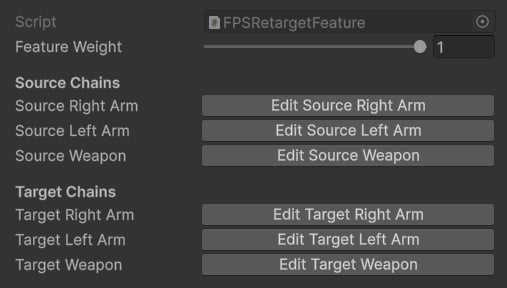
Fingers
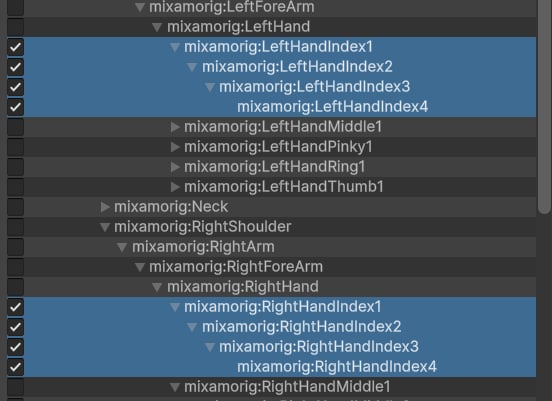
Finally, add 5 BasicRetargetFeatures for every finger bone: thumb, index, middle, ring and pinky.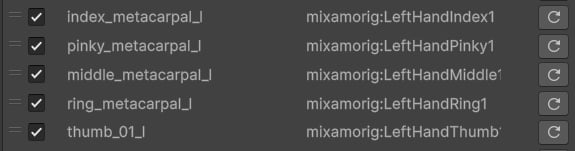
Retargeting
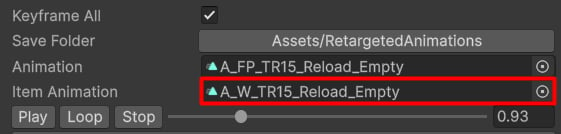
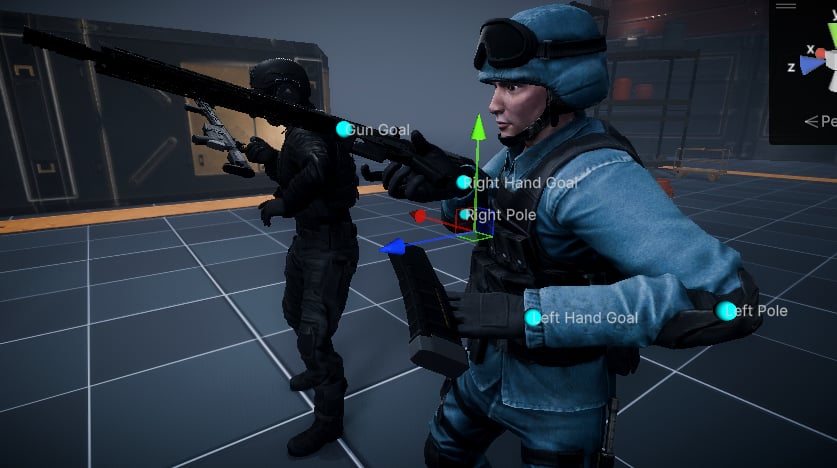
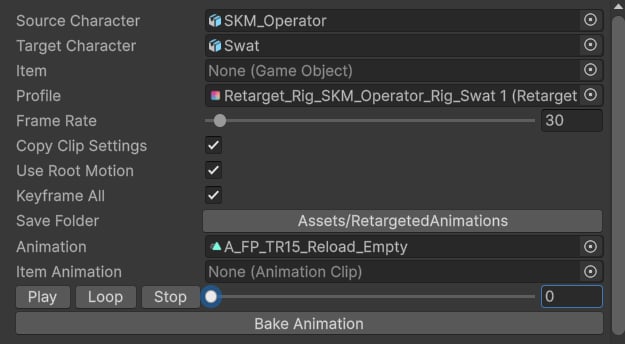
Once the Retarget Profile is configured, select an animation clip to retarget and press “Play”: Use the control Gizmos to position hands and the weapon. It’s also possible to preview an animation on the gun — add a gun mesh to the weapon bone.