
Character meshes
Note: Compatible with GASP 5.4, 5.5, 5.6. Add the latest Tactical Shooter Pack to your GASP project before starting.
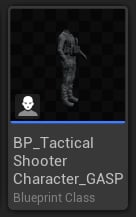
New blueprint.

Change the parent class.

Default mesh component.
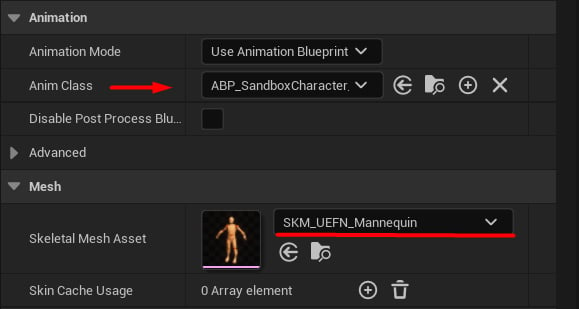
Properties for motion matching.
Note: The “Mesh” skeletal component will generate a motion-matching pose (full-body movement), which will be blended with our tactical animations.
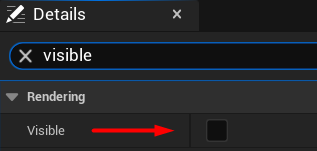
Keep this mesh hidden.

Always update animation, even if mesh is hidden.
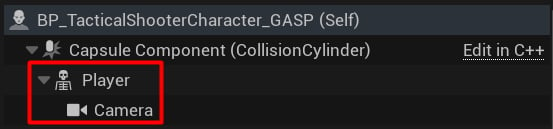
Camera is a first-person camera component.
FPCamera and reset its transform:
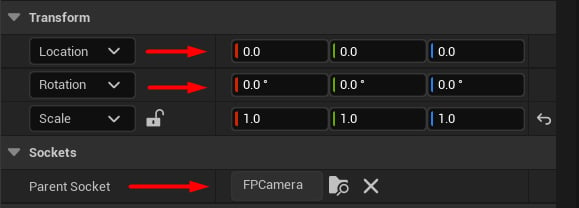
Camera settings.
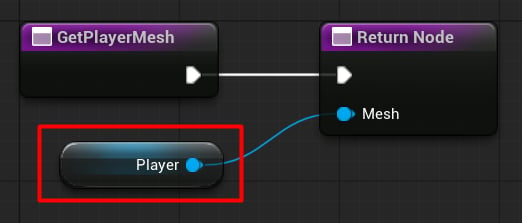
GetPlayerMesh interface function and return the new “Player” skeletal mesh component:
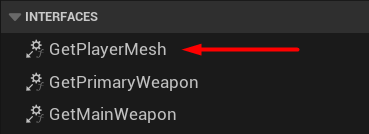
Open up this function.
Cameras
The second step is to properly set up cameras in our player blueprint. If you use GASP 5.5 or 5.6, make sure to use this code snippet to disable other cameras: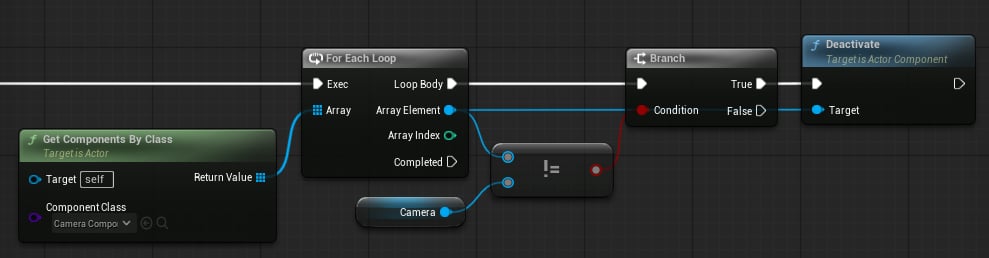
Place this in BeginPlay.
Auto Activate property to false:
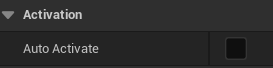
Disable other cameras.
Inputs
The next step is to properly update GASP inputs at runtime. Open theUpdate Player Movement function (it’s called on Tick):
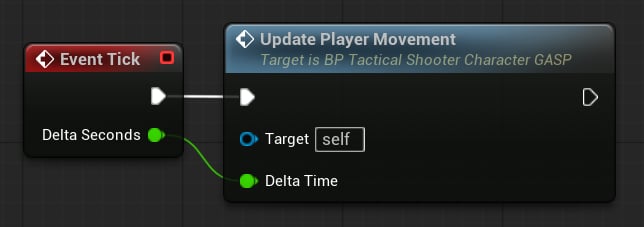
Update movement function.
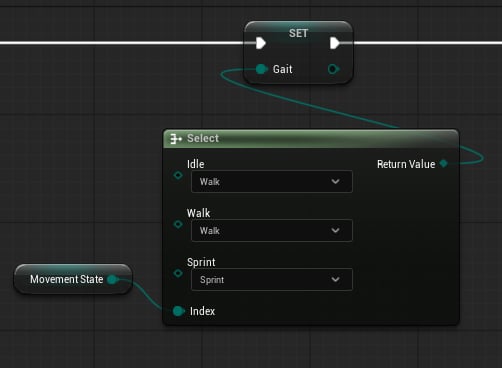
Updating current Gait.
bWantsToSprint, bWantsToWalk, bWantsToAim and bWantsToStrafe properties.
Note: The setup differs between 5.4 and 5.5/5.6; refer to the images below.
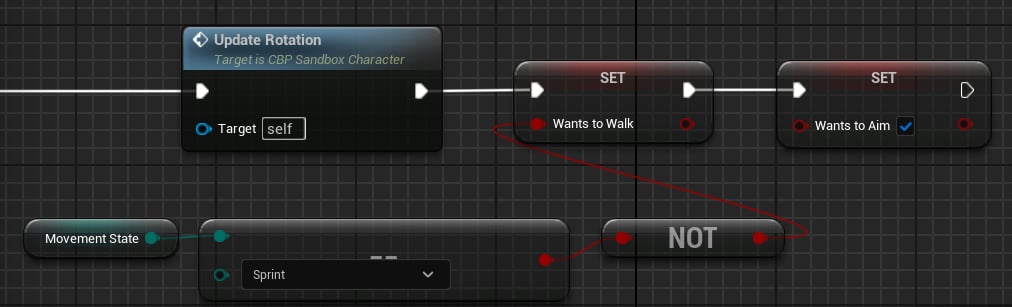
5.4 version also requires the Update Rotation function to be called.
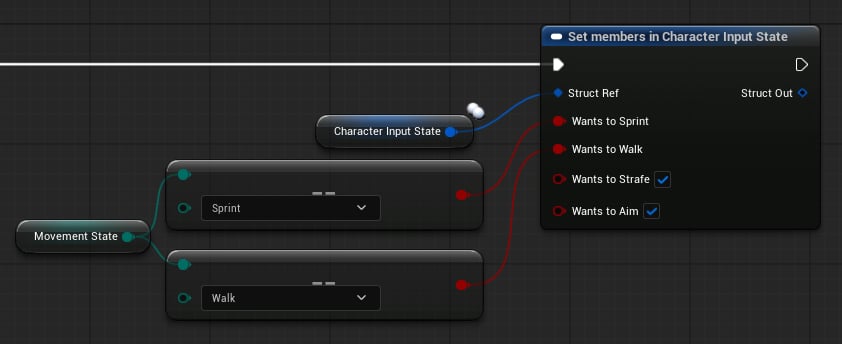
5.4/5.6 version.
Animation blueprint
Now we need to create an animation blueprint (ABP) that will combine motion-matching pose and animations from the Tactical Shooter Pack. Create a new Animation Blueprint using the UE5 Manny skeleton from the pack: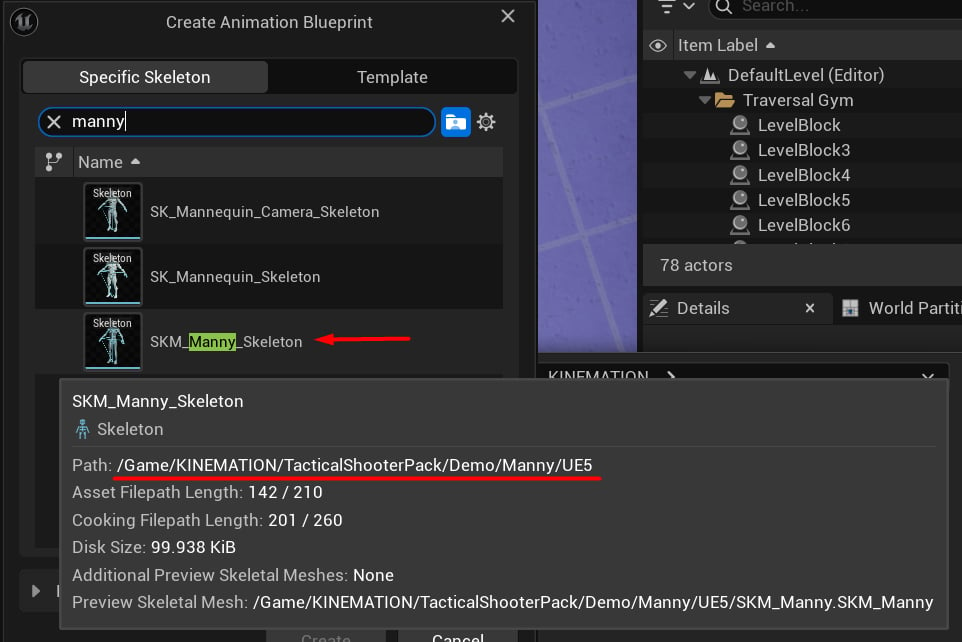
Creating a new animation blueprint.

Simple initialization logic.
Retarget From to Custom Skeletal Mesh Component, and IK Retargeter Asset to RTG_UEFN_to_UE5_Mannequin:
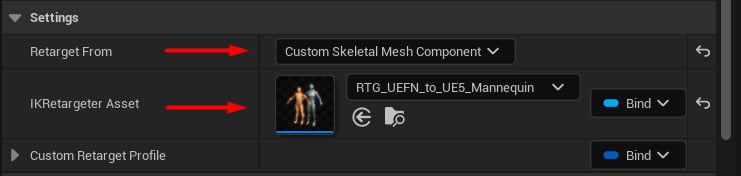
Retargeting settings.
Source Mesh Component using the “Mesh” property from the player blueprint.
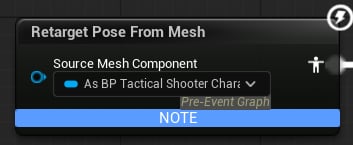
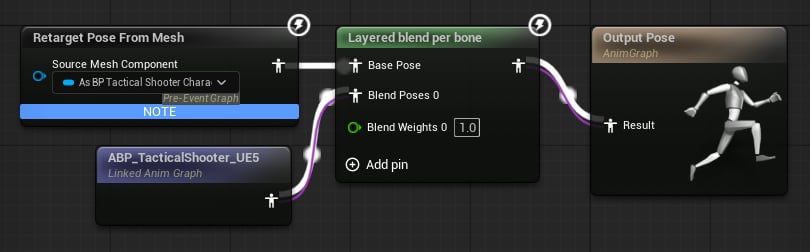
Simple blending setup.
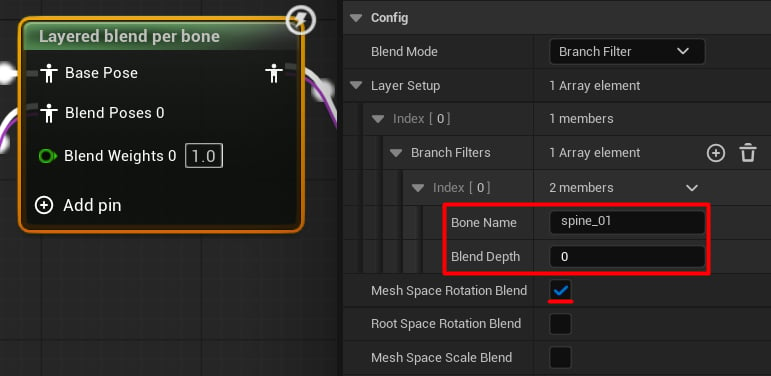
Override the upper body.
Tip: Feed the retargeted pose into Base Pose, and Tactical Shooter animations into Blend Pose 0.
Parkour adjustments
To properly blend parkour animations, we need to adjust our layering. First, create 2 cached poses: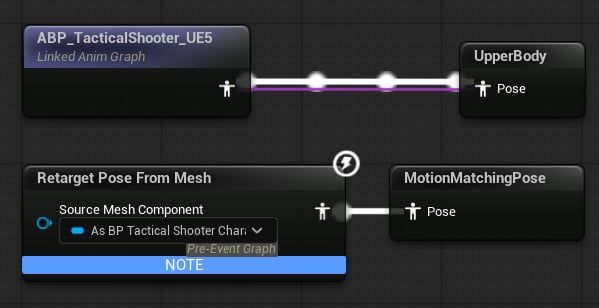
Cached poses.
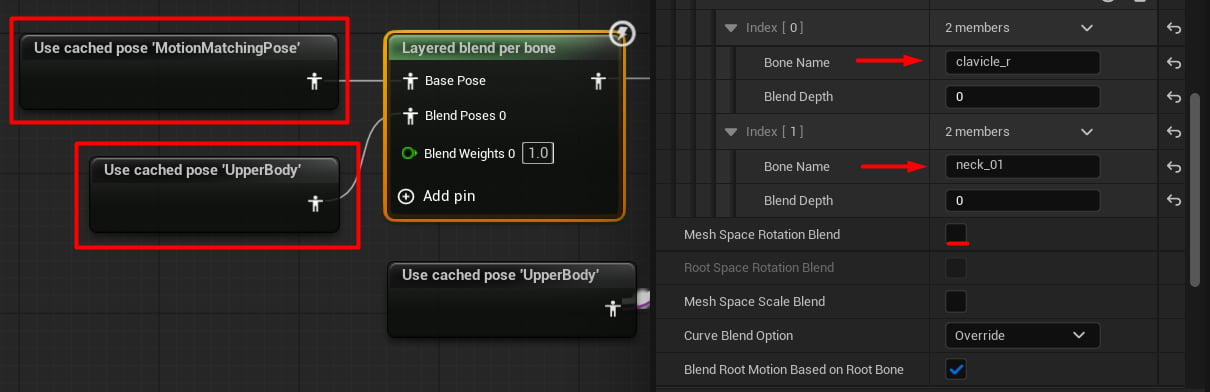
This pose will be used when climbing.
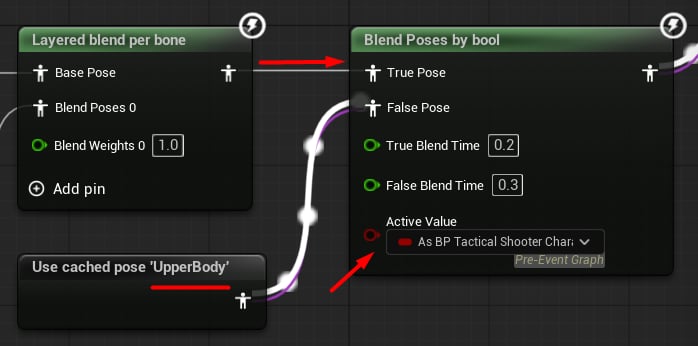
DoingTraversalAction boolean from our character blueprint.
Finally, blend the result with the “MotionMatchingPose”:
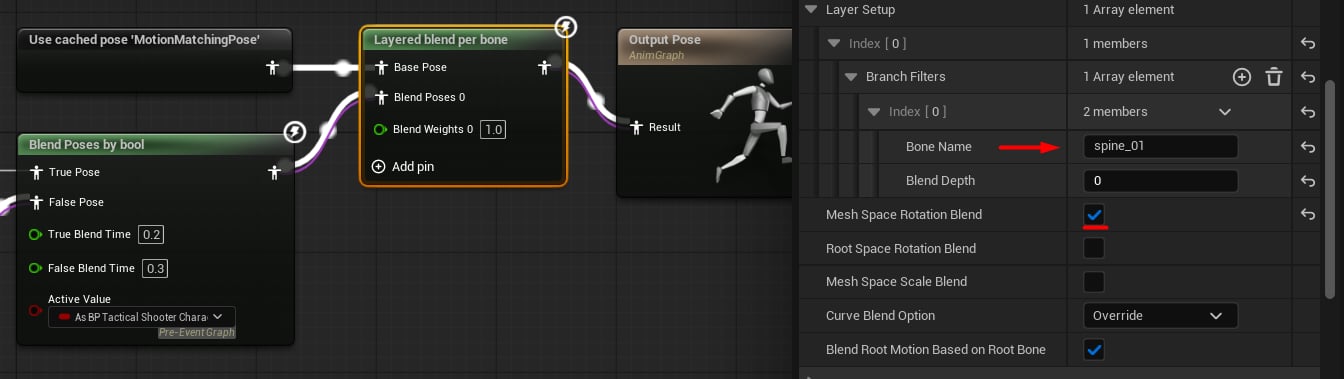
Final blending step.