
BP_Survival_Character for your project. If you use a different character mesh, finish Character setup first.
Choose a starting item
OpenSurvival_FPS_Pack/Blueprints/Items in the Content Browser.
Copy the item and its animation setup
- Duplicate the item Blueprint into your own folder and name it, for example,
BP_ProjectItem. - Find its view in
Blueprints/Items/Viewsand duplicate it asAC_ProjectItemView. - Duplicate the matching
DA_asset fromBlueprints/Items/Settingsand assign the copy to Animation Settings on your view. - Replace the original view component on
BP_ProjectItemwith your copied view. Reconnect any event graph references to the new component. - Update the item’s view getter. Items such as the knife and pot implement
GetItemView; the DL700 and HX2 implementGetWeaponView. Return your new view component. - Compile and save both Blueprints.
BP_Knife, AC_KnifeView, and DA_Knife. The rifle copies are BP_DL700, AC_DL700View, and DA_DL700.
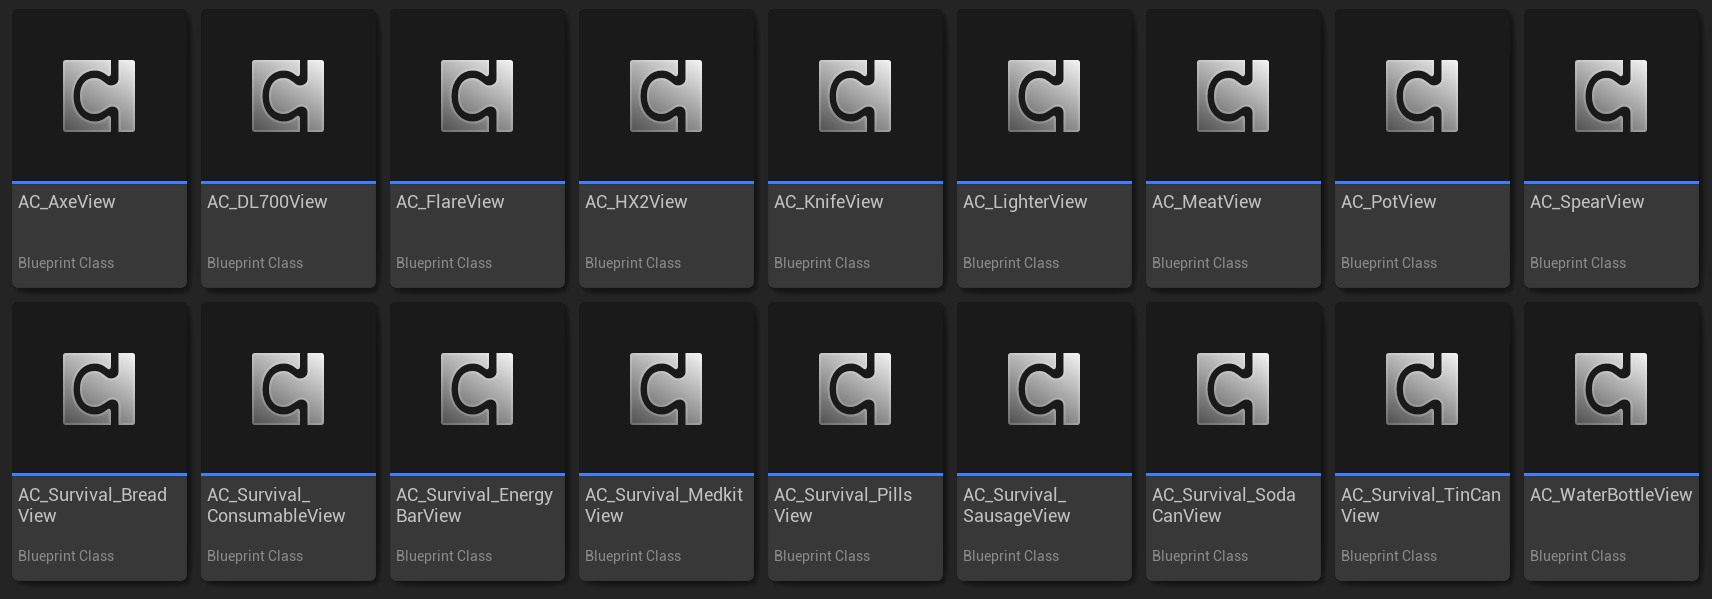
Views in Blueprints/Items/Views hold the actions and animation assignments for each item.
BP_ProjectItem to Item Classes on your character copy and check that you can equip, use, and put it away. Add food or medicine to Consumable Classes instead.
Replace the mesh and animations
Select the component that displays the model in your copied item Blueprint. Animated models useItemMesh; items such as the knife and spear also have a StaticItemMesh, while food uses ConsumableMesh.
For a Skeletal Mesh, assign an Animation Blueprint compatible with its Skeleton. Copy the closest item Animation Blueprint from Animations/Items if you need to replace its idle pose or action playback.
On the view, configure EquipMontage, UnEquipMontage, and the item’s use montages. Each F_CharacterItemMontage entry has a character montage and an item montage. Use the character side for the hands and the item side for moving parts such as a lid, bolt, or bowstring.
Open your copied DA_ asset and set the holding pose, overlay class, and procedural class. Adjust Weapon Offset to frame the item, then check both hand offsets. That field keeps its Unreal name even when you are adjusting a tool or consumable.
See Animation settings for the fields. Test the actions after changing the idle pose; an aligned resting grip does not guarantee that the hands follow the model during use.
Create a melee weapon
Knife attacks
UseBP_Knife and AC_KnifeView for a weapon with discrete strikes.
- Set your attack montage pairs in the view’s
SlashMontagesarray. The included character montages areAM_FP_Knife_Slash_LeftandAM_FP_Knife_Slash_Right. - Keep the item’s
UseItemevent connected to the view’sOnUseItem. - Keep the
HasActiveActioncheck before starting another attack. - Pass the animation length returned by
OnUseItemtoAC_GameplayAnimation.StartAction. This marks the attack active while it plays. - Add your hit detection and damage logic to the item. Time the hit check to the contact portion of the strike.
AC_KnifeView.OnUseItem selects a slash montage pair and plays it through PlayCharacterItemMontage. The example BP_Knife.UseItem starts the animation and its action state; add your combat behavior there or through a notify for the hit window.
Axe blocking and spear attacks
For blocking, start with the axe and keepABP_Overlay_Survival_Axe assigned in the copied settings. The overlay reads IsAiming and moves through its block animation as the secondary action starts and ends. Replace the block animation in that overlay when adapting the pose. Implement damage reduction in your combat logic.
For high and low spear strikes, keep HighAttackMontage and LowAttackMontage on AC_SpearView. Its OnSpearAttack selects the attack pair, while ThrowMontage handles release when throwing. See Weapons for the overlay graphs and included actions.
Create a ranged weapon
Firearms
Start withBP_DL700, which derives from BP_Shooter_Weapon, and its AC_DL700View.
- Replace the rifle mesh and assign its matching item Animation Blueprint.
- On the copied view, set
FireMontageand the draw and holster pairs. Assign the firing sound and muzzle effect throughBaseFireSoundandBaseMuzzleFlash. - On the copied settings asset, configure the idle pose, sight alignment, aiming FOV, sway, and Recoil Data.
- In the item’s Class Defaults, set Fire Rate, Max Ammo, and Active Ammo for your firearm.
- Check
GetAimPointafter replacing the scope or sights. The DL700 uses a scope actor, so its original alignment may not match your model.
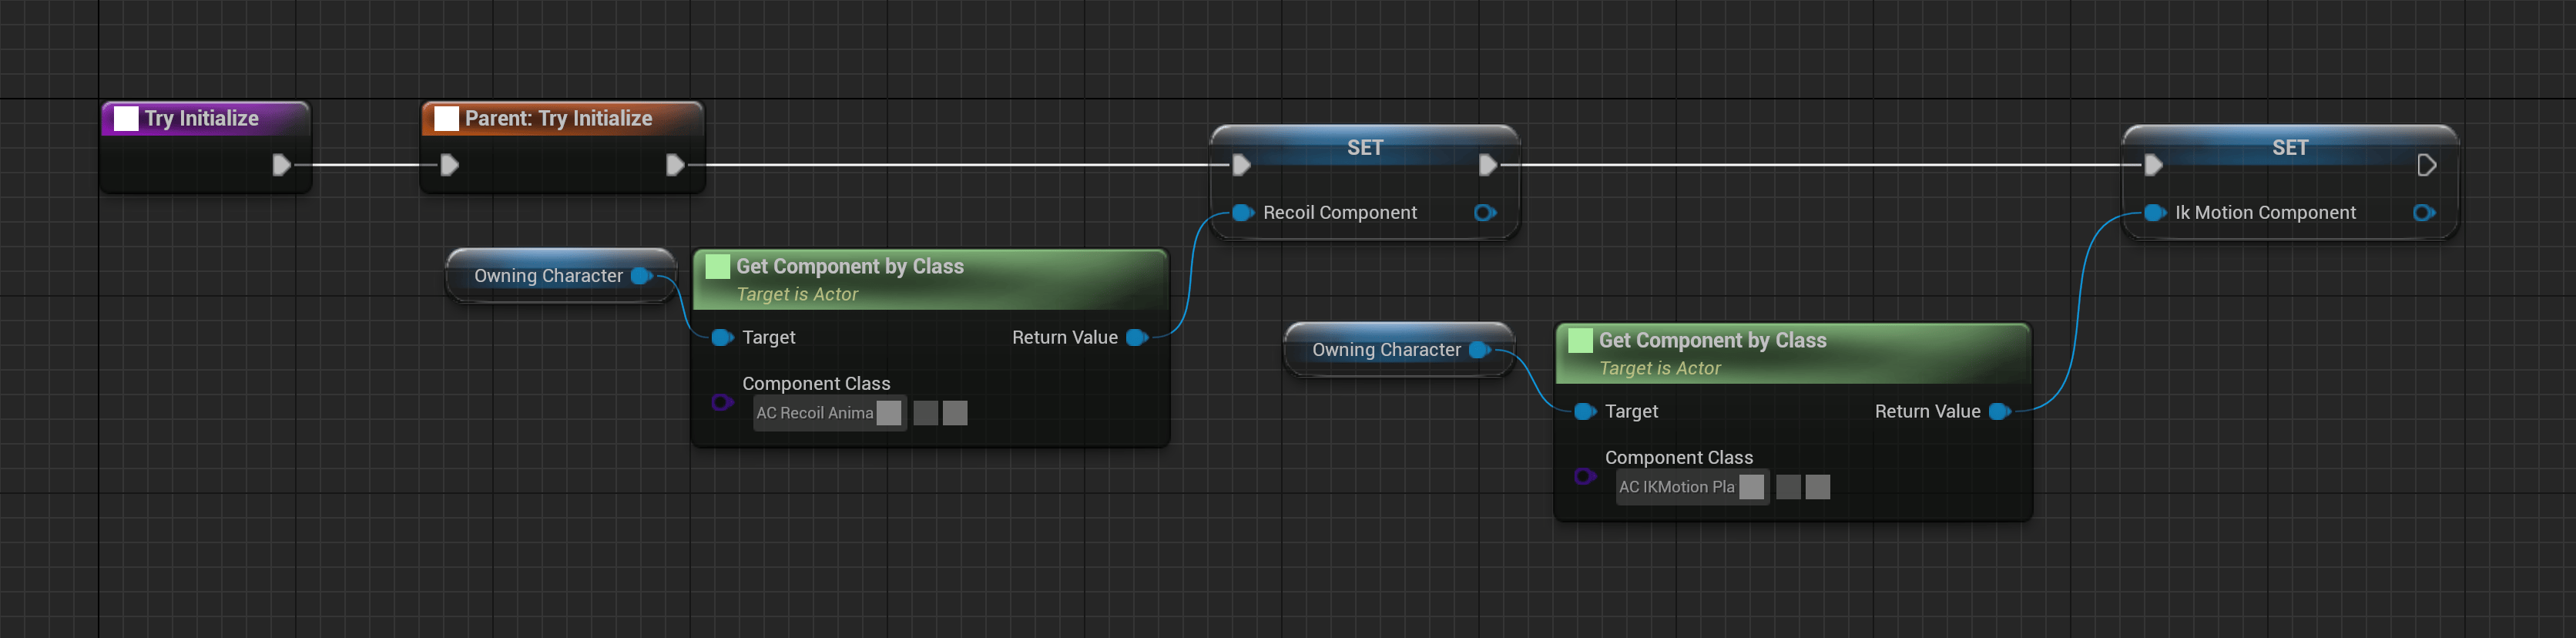
The shared weapon view initializes the character's recoil and IK motion components after the base item setup.
ReloadStartMontage, ReloadLoopMontage, and ReloadEndMontage on the view, and keep the matching reload events in the item Blueprint. Preserve Reload Weapon at the ammunition insertion moment on the item animation.
If your firearm uses a single magazine reload, replace the DL700’s staged reload logic as well as its montages. Assigning one magazine animation to the loop does not change how the item adds ammunition. See Reload Weapon and Weapons.
Projectile items
UseBP_HX2 for a bow or BP_Spear for a throwable. Both implement BPI_Survival_Ranged and use AC_Survival_RangedWeapon to select a projectile mesh.
- Keep
BPI_Survival_Rangedon the copied item. - Fill
ProjectileMeshesonAC_Survival_RangedWeaponwith the models your item can launch. - Adapt
OnThrowItemto spawn your projectile actor and assign the selected mesh. - Check the spawn transform and launch direction. The HX2 uses
ArrowProjectileSocketand its right vector; the spear uses its item transform and right vector. - Set speed, gravity, rotation, bounce, and life span on the
LaunchProjectilecall. - Place Launch Projectile at the release moment on the character animation.
OnThrowItem; the item performs the spawn and launch. Keep the held model’s visibility and next-item animation in step with that event. For the bow, also retain OnLoadNewArrow and the aiming overlay so the next arrow loads after release.
Follow Launch Projectile for the notify graph and the spear and arrow launch values.
Create a consumable
Start with the closest child ofBP_Survival_Consumable. Copy its view and settings, replace the model, and assign the use montage pair.
Set MaxUseTimes on the consumable view to choose how many times it plays the use action. Add Use Consumable at the bite, sip, or healing moment. Implement your effect in the item’s UseConsumable event, keeping any inherited mesh or visibility changes you need.
Add the item class to Consumable Classes on your character. The water bottle and pot use regular Item Classes, so use a food or medicine Blueprint when you want the temporary consumable sequence.
See Consumables for timing and Use Consumable for the event flow.