
Overview
Component
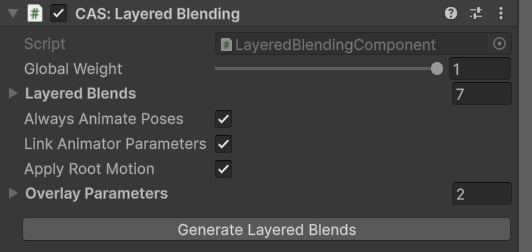
Layered Blending Component.
- Global Weight — controls the overall influence of the component.
- Always Animate Poses — evaluates Overlays every frame. Disable to process them once for better performance.
- Link Animator Parameters — updates parameters in the current Overlay Animator Controller using values from the main Animator.
- Apply Root Motion — toggles root motion.
Tip: Click “Generate Layered Blends” when skeleton hierarchy is updated - it will re-create Layered Blends elements.
Layering
Layered Blends define which body parts are affected and which float parameters drive the blending.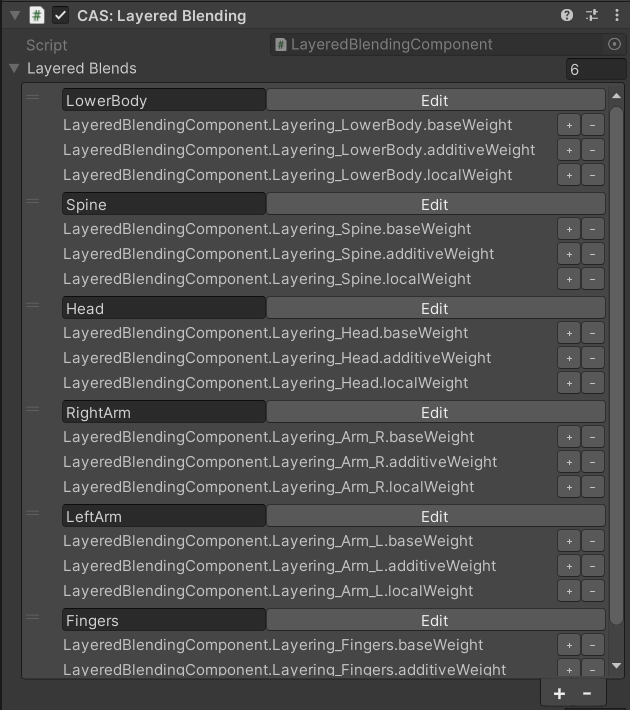
Layered Blends.
- Lower Body (legs and pelvis)
- Spine
- Head
- Left Arm / Right Arm
- Fingers
- Base Weight — mixes Base Pose vs. Overlay on this layer
- Additive Weight — scales additive motion on this layer
- Local Weight — blends the Overlay in local space (useful for fingers/toes; sometimes arms)
Overlay Parameters
You can propagate custom float parameters from the base Animator to Overlays using Overlay Parameters. Each overlay parameter acts as an additive offset that CAS applies on top of the base value at runtime.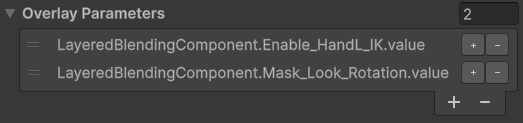
- Add a parameter and bind a float Add a float parameter to the Overlay Parameters list. At runtime, CAS will add this float to the current value of the corresponding Animator parameter.
-
Example: Disabling IK while climbing To disable hand IK when the character is climbing:
-
In your climbing animation, add a float parameter named
Enable_HandL_IK. - Set its value to -1.
-
Add
Enable_HandL_IKto the Overlay Parameters list in CAS.
-1to the currentEnable_HandL_IKvalue, effectively masking it out (disabling the IK for that hand). -
In your climbing animation, add a float parameter named
Curve Property Editor
Adding Curves
To add layering properties to an Animation Clip, right-click on the animation and select “Edit Curve Properties”: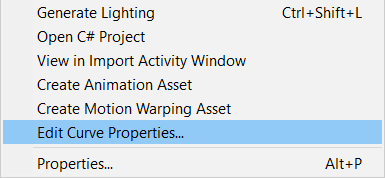
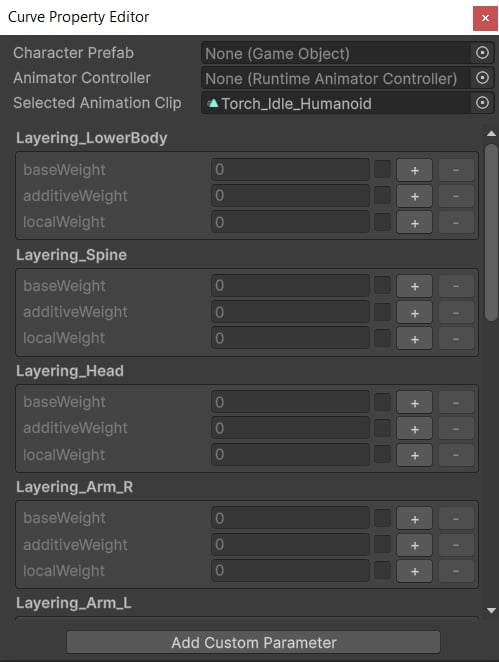
Curve Property Editor.
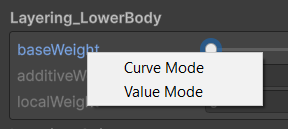
Different editing modes.
Blending Parameters
Layered Blending provides these float properties by default:- Layering_LowerBody
- Layering_Spine
- Layering_Head
- Layering_Arm_R
- Layering_Arm_L
- Layering_Fingers
- Mask_Procedural_Animation
- Weapon_Bone_Weight
- Mask_Look_Rotation
- Mask_Attach_Hand
- Enable_HandR_IK / Enable_HandL_IK
- Enable_FootR_IK / Enable_FootL_IK
float property. At runtime, Unity creates and resolves these bindings, allowing clips to drive our layering properties. Those values are then forwarded to the Layered Blending component.
Unity has an important limitation: it does not automatically reset curve-bound values each frame. As a result, if an animation clip sets Enable_HandR_IK to 1, that value can persist even after the clip stops playing. These “stale” values may continue influencing blending and lead to incorrect results.
To prevent this, manually reset the layering curves in your main Animator Controller:
- Create a new default layer (first in the layer order).
-
Drag the
Curves_Defaultclip from CAS into that layer.
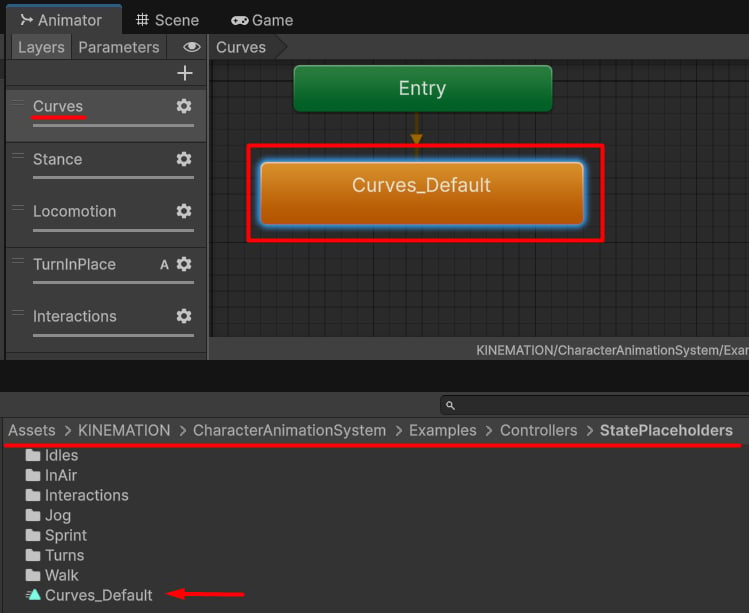
Drag this clip as a default state.
Tip: This ensures all blending parameters are driven back to
0 every frame, eliminating issues caused by lingering values.Custom Properties
Prefabs
Assign the Character Prefab to add a public float field or property from a component:
Drag&Drop your character prefab here.
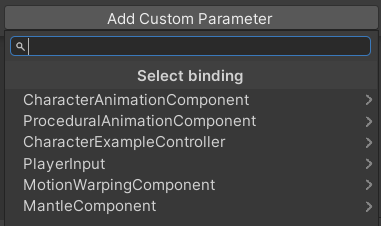
Select a float property.

Successfully added custom parameter.
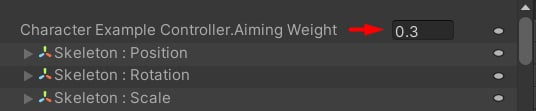
Float parameter curve in the Animation Clip.
Animator Controller
Assign the controller reference to select a float parameter from an Animator Controller:
Assign Animator Controller here.
Runtime API
You will usually switch overlays throughCharacterAnimationComponent. These members are useful when your gameplay code needs to talk to the active layered blend itself.
Drive an overlay controller
OverlayAnimator gives you its playable. Check IsAnimatorValid() first. A profile that uses a single Overlay Pose has no controller to drive.
PlayAttack only talks to the overlay controller when one is running. The rest of CAS can still use a static pose for profiles that do not need controller states.
Fade or replace the active blend
UpdateDynamicBoneBlending lets dynamic bones fade with the overlay. StopLayeredBlending fades the current overlay out. Give it a duration when you want a specific fade; otherwise, it uses the active profile’s blend-out time.
UpdateLayeringData swaps the base pose, overlay, and blend settings. The data needs a base pose plus an overlay pose or controller. For normal profile changes, call CharacterAnimationComponent.UpdateAnimationSettings instead. It prepares this data for you.
0 to 1 range. Holster fades out the active overlay over 0.2 seconds. Update the character animation settings when you need to start a new overlay afterward.
Read root motion yourself
CharacterController by the translation delta, then applies the rotation delta to the character root.