
Apply Setup
Add your character to the scene, right-click it, and select KINEMATION ▸ Setup CAS:
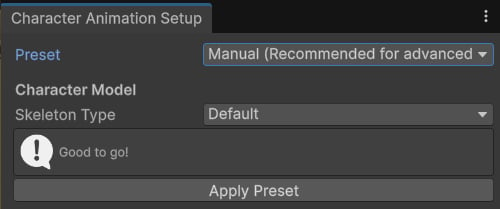
Click Apply Preset.
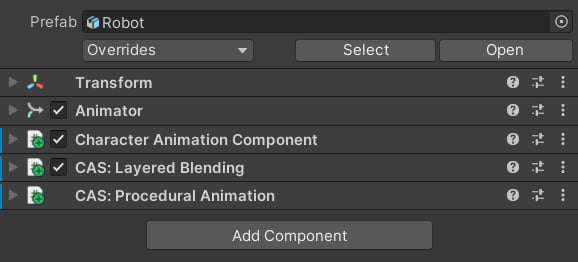
These are main components used in the animation system.
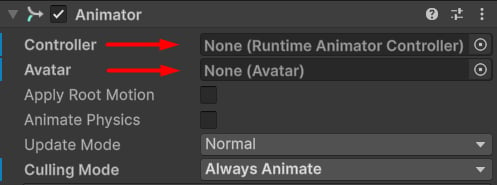
Assign Animtor Controller.
Create CAS Asset
In the Character Animation Component menu (three dots), select Create Animation Settings: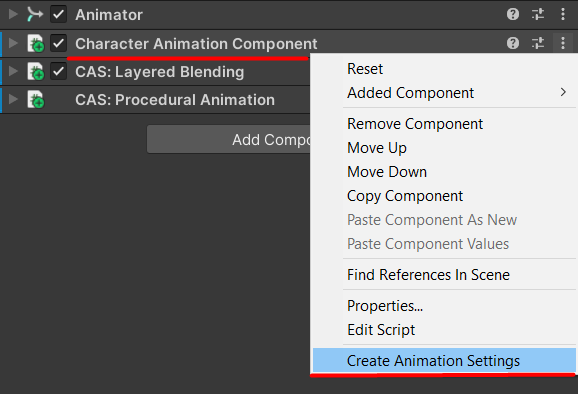
Select this option.
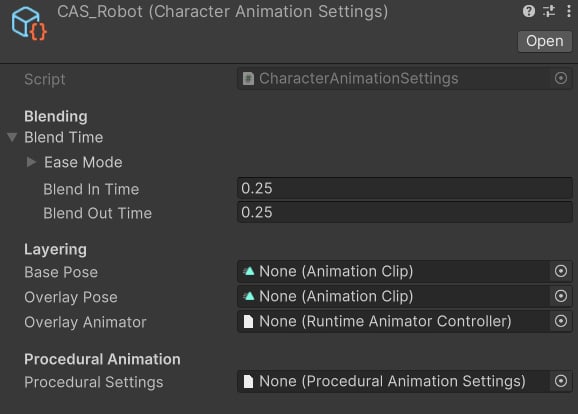
Character Animation Settings.
- Blend Time: Controls how these settings will be blended. Ease Mode specifies the interpolation function, and Blend In/Out Time is the time in seconds it takes to blend in or out.
- Base Pose: This is your idle standing animation.
- Overlay Pose: This is your weapon or item Animation Clip. Always assign a clip here, as it plays a crucial role in Layered Animation Blending.
- Overlay Animator: If you want your overlay to be more complex, you can create an Animator Controller and assign it here.
- Procedural Settings: These are Animation Modifiers, which will be used to dynamically animate bones. We will cover Procedural Animation in the next chapter!
Layered animation blending
Make sure to assign the Base Pose, Overlay Pose, and Overlay Animator (optionally). Next, drag & drop your Animation Settings into the character prefab: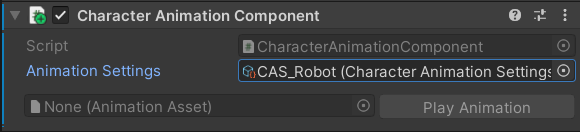
Assign your settings here.
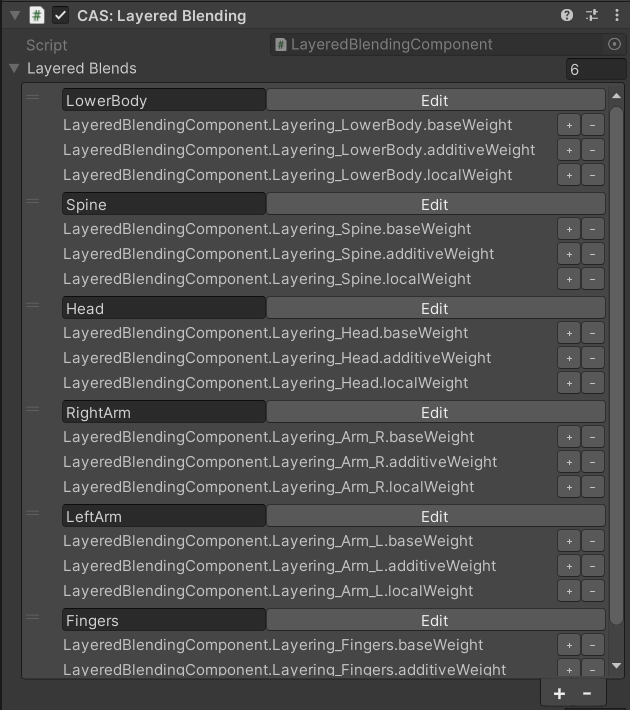
Layered Blending component.
- Base Weight: This is a blend between Base Pose and Overlay. If set to 1, Ovelray will be applied for this layer, if 0 - Base Pose.
- Additive Weight: This value controls how much of an additive motion to apply. This is useful when we want to animate the Overlay dynamically.
- Local Weight: This value blends the Overlay in the local space (relative to the parent bone). This is mostly useful for fingers and toes, but sometimes we use it for arms too.
Curve-based animation blending
Find your Overlay Animation Clip, right-click it, and select Edit Curve Properties: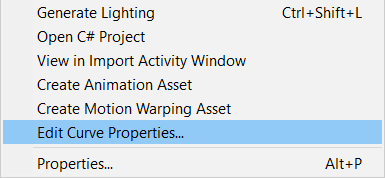
Select this option.
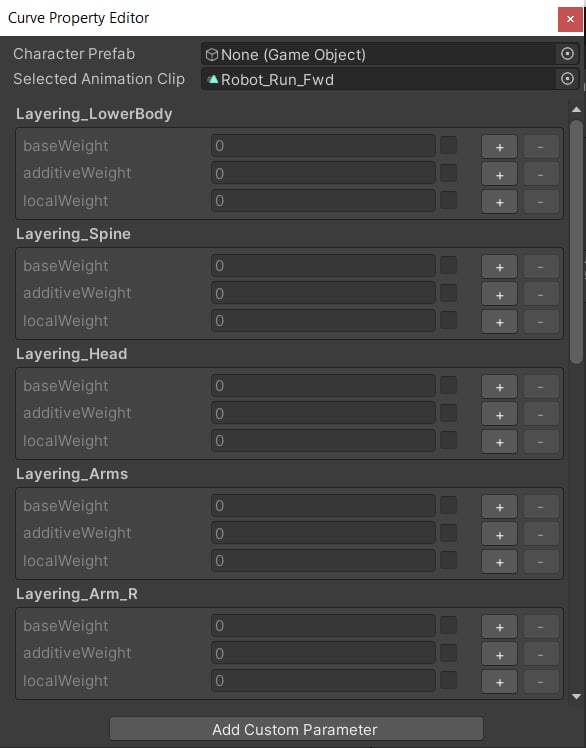
Curve Property Editor.
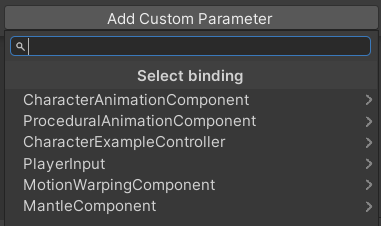
Custom parameters from an example prefab.
- Layering_LowerBody
- Layering_Spine
- Lowering_Head
- Lowering_Arm_R
- Lowering_Arm_L
- Lowering_Fingers
- Layering_LowerBody: Set the “additiveWeight” to 1, and “baseWeight” to 0.4.
- Layering_Fingers: Set the “localWeight” to 0; usually, we want fingers to be animated by the Overlay.
Blend layers
All blending layers are stored in the Layered Blend list (Layered Blending component). Every layer contains bones, which will be affected by the blending. To view and edit those bones, make sure to click the “Edit” button: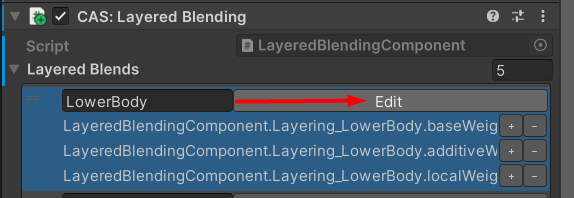
Edit to open a bone chain selection.
At this point, our character setup is complete! In the next tutorial, we will learn how to add procedural animation.