Parent the weapon prefab to IK weapon_bone
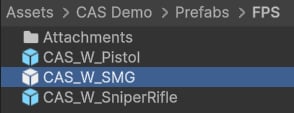
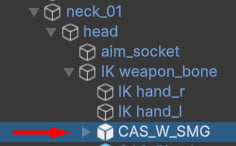
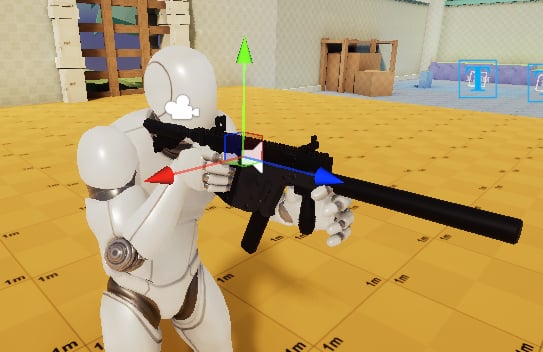
Locate the weapon prefab you want to use. If you are following along with the demo content, find the A_W_SMG prefab in the project. Drag it into the Hierarchy and drop it onto the character’s IK weapon_bone GameObject so it becomes a child of that transform. The weapon will now move with the weapon bone as procedural effects (sway, recoil, ADS) animate it.IK weapon_bone is the correct parent for all weapon prefabs. Do not parent weapons directly to a hand bone or to the character root — the IK system expects weapons to live under this specific transform.
Assign the CAS settings asset
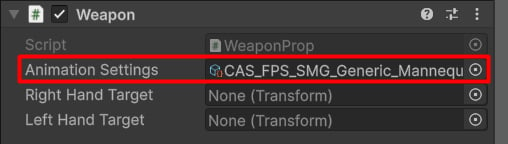
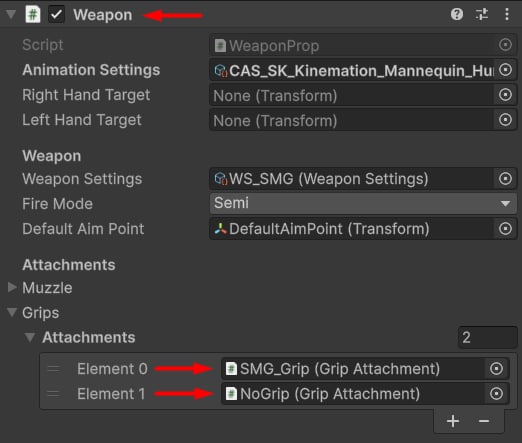
Select the weapon prefab in the Hierarchy and find the Weapon component in the Inspector. Drag the CAS settings asset that the preset created (the one in the same folder as the Skeleton_ prefab) into the CAS Asset field on the Weapon component. This link tells CAS which Overlay Controller and Procedural Animation Settings to activate whenever this weapon is equipped. Without this assignment the character will play no weapon overlay animations and no procedural effects will run.Configure the Overlay Animator Controller
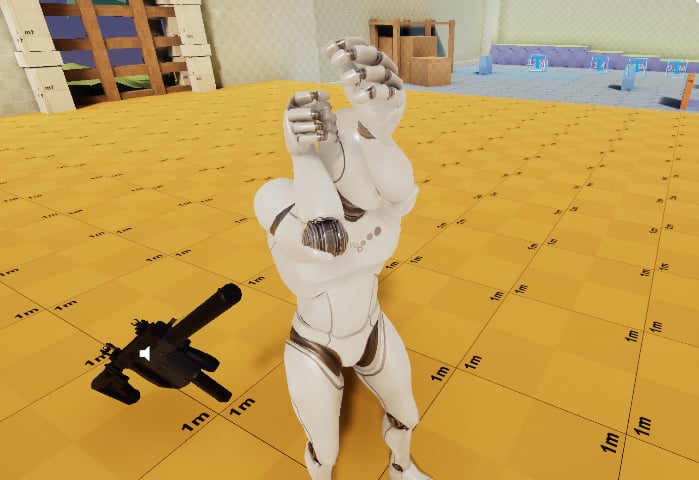
If your character uses a Humanoid rig, or a Generic rig whose animations do not exactly match the demo character’s skeleton, the weapon pose may look wrong out of the box because the Overlay Animator’s default controller references animations authored for the demo skeleton. Create a custom Override Controller to remap those clips to animations compatible with your character.1
Create an Animation Override Controller
In the Project window right-click and go to Create → Animation → Animator Override Controller. Name it something recognisable, for example
AOC_MyCharacter_SMG.2
Set the base controller
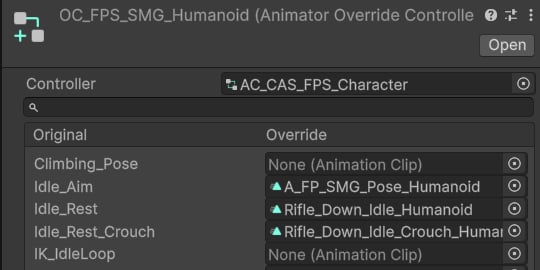
Select the new Override Controller asset. In the Inspector set the Controller field to AC_CAS_FPS_Character. This is the base FPS Animator Controller that ships with the demo content. The Override Controller inherits all its states and parameters but lets you swap out individual animation clips.
3
Assign animation clips
Replace the three key clips with animations that are compatible with your character’s skeleton:
4
Assign the Override Controller to CAS settings
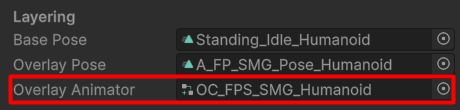
Open the CAS settings asset and set the Overlay Animator field to the Override Controller you just created. CAS will now use your character-specific clips when blending the weapon overlay.
Position the weapon with Gizmos
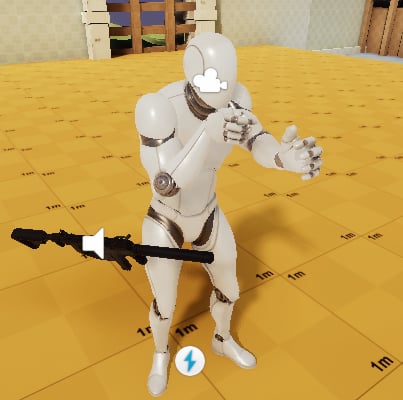
If your animations do not include a weapon bone or your character is Humanoid, the weapon defaults to following the right hand directly. The default position is unlikely to match your intended first-person view exactly. Use the Procedural Animation Gizmos to adjust it interactively in Play mode.1
Enter Play mode
Press Play in the Unity Editor so CAS is running and the procedural pose is live.
2
Enable the Gizmos axis control
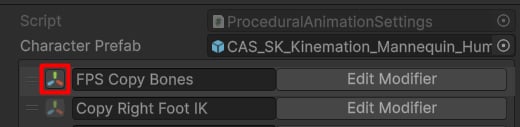
Select the Procedural Animation asset in the Inspector and click the axis button (the Gizmos toggle icon). This enables the interactive translation and rotation handles in the Scene view.
3
Drag to position
Use the translation handle to move the weapon into the correct first-person position relative to the camera. Use the rotation handle to tilt or rotate as needed. The values are written back into the FPS Offset modifier in the PA_ asset as you drag.
Fix the left-hand grip
After positioning the weapon you will likely notice that the left hand does not grip the foregrip or handguard correctly. This is because the default left-hand IK pose is derived from the idle animation rather than from a purpose-built grip pose.1
Locate grip attachment GameObjects
Select the weapon prefab in the Hierarchy and expand it. Look for child GameObjects named something like
Grip_Default or Attachment_Grip. These are Grip Attachment objects.2
Assign compatible animation clips
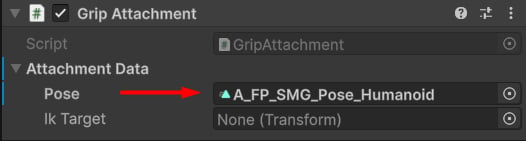
Select each Grip Attachment GameObject and look at the Grip Attachment component in the Inspector. Assign an animation clip that poses the left hand correctly for that grip point. The clip must be compatible with your character’s skeleton type — Generic clips for Generic rigs and Humanoid clips for Humanoid rigs.
3
Verify in Play mode
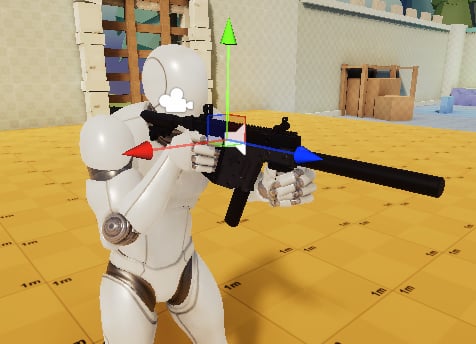
With the correct clips assigned, enter Play mode again and confirm the left hand now grips the weapon at the right position and orientation. The Attach Left Hand modifier will read the
Attach Transform from the active Grip Attachment and drive IK hand_l to match it.If a Grip Attachment provides no
Attach Transform, the Attach Left Hand modifier automatically falls back to IK hand_l_r — the dynamic bone that stores the left-hand pose relative to the right hand from the base animation. This fallback is intentional and ensures the left hand always has a reasonable position even when no custom grip data is present.