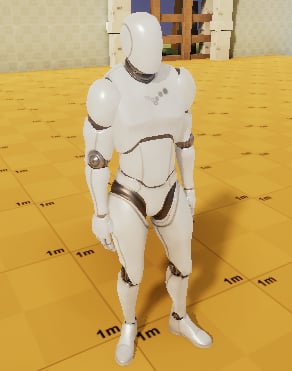
After applying the CAS preset your character runs in Play Mode, but the Overlay pose — for example, holding a torch — is not yet visible. This is intentional: the Layered Blending component uses float curve values embedded in the Animation Clip to determine blend weights. Until you add those curves, the overlay has zero influence and the character shows only the Animator Controller output.

Why Curves, Not Code?

CAS ties blend weights to Animation Clip curves rather than script parameters for a simple reason: each clip can specify exactly how it wants to blend with the locomotion layer. A relaxed idle pose might blend only the upper body, while a two-handed weapon aim might override the entire spine and both arms. Embedding this information in the clip means designers can tune blending in the Animation window without touching code, and the intent travels with the asset when clips are reused across characters.

Adding Curve Properties to a Clip

1

Locate your Overlay Animation Clip

In the Project window, find the Animation Clip you assigned as the Overlay Pose in the CAS Settings asset (for example, Torch_Idle).
2

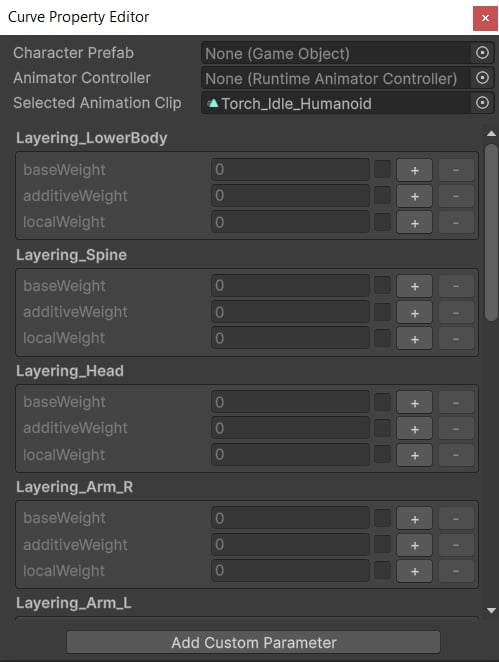
Open the Curve Property Editor

Right-click the clip and choose Edit Curve Properties. The Curve Property Editor window opens, listing all custom float properties currently attached to the clip.
3

Add layering curves

Click Add Property and enter the name of a layering curve. The names must match the Layered Blend parameter names configured on the Layered Blending component. The preset creates the following standard curves:Add the curves that correspond to the body parts your overlay should control. For a torch held in the right hand, add at minimum Layering_Spine and Layering_RightArm.
4

Set initial curve values

Each added curve defaults to a constant value of 0 (no blending). Set the value to 1 for full overlay influence on that region, or any value between 0 and 1 for partial blending. You can use a keyframed curve to vary influence over time — for example, smoothly introducing the overlay during a draw animation.
5

Tune in Play Mode

Enter Play Mode. The Layered Blending component reads the curve values live. Adjust the float sliders directly on the Layered Blending component in the Inspector to preview different blend weights without stopping Play Mode.
Unity applies Inspector changes made in Play Mode only for that session. Note down the final values you want, exit Play Mode, and enter them into the Animation Clip curves in the Curve Property Editor.

What the Result Looks Like

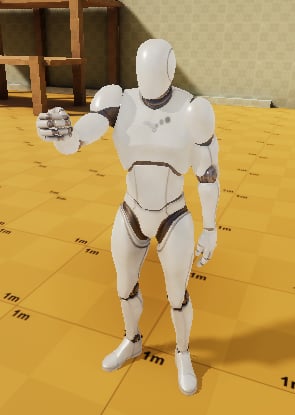
Once curves are configured correctly, the Overlay blends naturally on top of the Animator output. The character’s legs continue to use the locomotion Animator (walking, running, jumping), while the spine and right arm reflect the torch-holding pose. As the character moves, both layers update independently and CAS combines them in real time.
If the overlay still isn’t visible in Play Mode after adding curves, check that the curve names in the clip exactly match the Param Name fields in the Layered Blends list on the Layered Blending component. The comparison is case-sensitive.

Using an Overlay Controller with Multiple States

If your overlay is driven by an Overlay Animator Controller rather than a single clip, each clip inside the controller needs its own curve properties. This lets you express different blend weights per state:
  • Idle Aim — blends spine, both arms, and head (nearly full-body overlay).
  • Idle Rest — blends only the right arm (weapon lowered).
  • Tactical Sprint — blends right arm with a low weight to maintain a natural arm swing.
CAS transitions between overlay states using the Blend Time configured in the CAS Settings asset, interpolating curve values smoothly across the transition. For a deep dive into all available blend parameters, easing options, and runtime control, see the Layered Blending reference page.